Have you ever wanted to join a server on Discord and customize your roles quickly without having to manually assign them? Look no further, because this comprehensive guide will show you how to set up reaction roles in Discord with ease! Learn how to set up channels, configure roles, and use reactions to assign them quickly and easily.
Introduction to Reaction Roles:
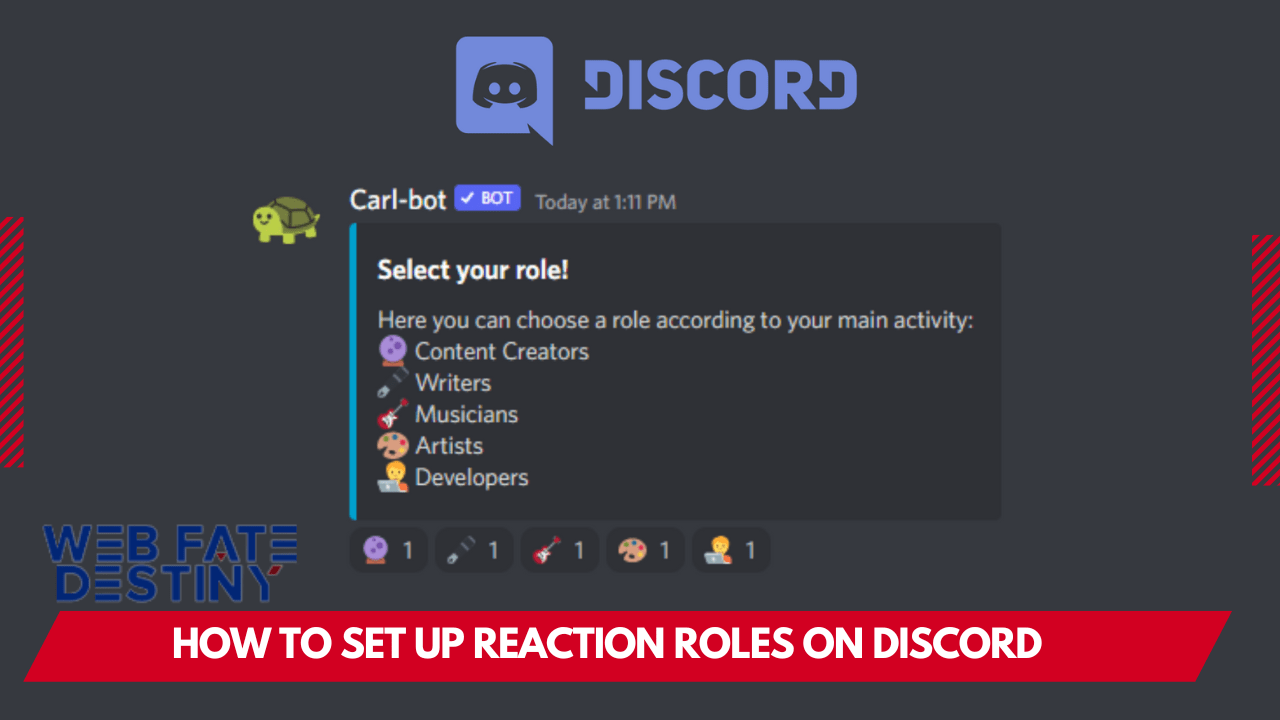
A reaction role is a role that is assigned to a user based on their reaction to a message. For example, if you have a “Subscribers” role and you want to give it to everyone who reacts to your post with the “✅” emoji, you would set up a reaction role for that. Reaction roles are a great way to automate the process of assigning roles to users, and they can be used for a variety of purposes.
For example, you could use them to: – Give people access to different channels based on their roles – Assign people different roles based on their reactions – Give people different permissions based on their roles – And more! If you’re new to reaction roles, don’t worry – setting them up is easy! In this guide, we’ll walk you through everything you need to know about reaction roles, from how to set them up to how to use them effectively.
What is a Reaction Role on Discord?
A reaction role is a role that can be assigned to a user in a Discord server by reacting to a message with a specific emoji. This allows for automated role assignment without the need for a bot or other third-party software. Reaction roles are typically used to give users access to different channels or content within a server, but can also be used for other purposes such as assigning roles based on activity level or game preference.
Benefits of Setting Up Reaction Roles for Your Discord Server
If you’re looking to add some extra interactivity and engagement to your Discord server, reaction roles might be just what you need! Reaction roles are a great way to give your users different permissions and access to different areas of your server depending on their reaction to a specific message.
For example, you could set up a reaction role that gives users the ability to join a VIP channel if they react with the “thumbs up” emoji. Reaction roles can be used for a variety of purposes, such as: – Giving users access to exclusive channels or content – Creating custom roles for different groups of users – Running polls and surveys – Collecting feedback from users – And much more!
Setting up reaction roles is quick and easy, and there are a number of ways to do it. In this guide, we’ll show you how to set up reaction roles using both the Discord web interface and the Discord desktop app.
How to Set Up Reaction Roles in Discord
Assuming you have a role named “Reaction Roles” and would like to set up reaction roles for it, follow these simple steps:
1. First, you need to create a channel where the reaction roles will be used. This can be done by going to your server settings and selecting “Create Channel.”
2. Once you have created the channel, go into its settings and select the “Permissions” tab. From here, you will need to ensure that the “Reaction Roles” role has permissions to read messages and add reactions in that channel. If it does not, simply toggle on the appropriate options.
3. Next, you will need to add the reaction emoji that you want to use for each role. To do this, simply type in the name of the emoji followed by the role name in square brackets. For example, if you wanted to use the :thumbsup: emoji for a “Like” role, you would type in “:thumbsup: [Like]”. Repeat this process for each reaction emoji and role that you want to set up.
4. Finally, all that’s left to do is send a message in the channel with all of the reaction emojis that you’ve set up. Once people start reacting to it with those emojis, they will automatically be assigned those roles!
Tips and Tricks for Setting Up Reaction Roles
Reaction roles are a powerful tool for Discord servers, allowing members to sign up for different roles by reacting to a message with an emoji. This can be used to create self-assigning roles for things like game sign-ups, teams, or anything else you can think of! Setting up reaction roles is relatively simple and only requires a few steps: 1) Create the role(s) you want members to be able to sign up for.
For this example, we’ll use three roles: “Team Red”, “Team Blue”, and “Spectators”. 2) Create a message in the channel you want people to be able to sign up for roles from. For this example, we’ll use the channel #role-signups. 3) Add the emoji corresponding to each role next to the role’s name in the message (e.g. :red_circle: for “Team Red”).
Make sure to add spaces between each emoji so that Discord doesn’t register them as one long reaction! 4) React to the message with the emoji corresponding to the role you want. For example, if I wanted to sign up for “Team Red”, I would react with :red_circle: . Once you’ve reacted, you should see your name listed under the appropriate role in Discord’s user interface.
Troubleshooting Common Issues with Setting Up Reaction Roles
If you’re having trouble setting up reaction roles on Discord, there are a few common issues that you can check for. First, make sure that the role you want to assign is higher in the role hierarchy than the roles that can be assigned by the reaction role.
Second, make sure that you have the Manage Server permission for the server you’re trying to set up reaction roles on. Finally, check the Discord logs to see if there are any errors being reported.
Conclusion
We hope this comprehensive guide has helped you learn how to set up reaction roles on Discord. So what are you waiting for? Go ahead and start setting up reaction roles on your own Discord server today!


